Refer: https://github.com/IamVigneshC/Building-an-IoT-Analytics-Pipeline-on-Google-Cloud
The term Internet of Things (IoT) refers to the interconnection of physical devices with the global Internet. These devices are equipped with sensors and networking hardware, and each is globally identifiable. Taken together, these capabilities afford rich data about items in the physical world.
Cloud IoT Core is a fully managed service that allows you to easily and securely connect, manage, and ingest data from millions of globally dispersed devices. The service connects IoT devices that use the standard Message Queue Telemetry Transport (MQTT) protocol to other Google Cloud data services.
Cloud IoT Core has two main components:
- A device manager for registering devices with the service, so you can then monitor and configure them.
- A protocol bridge that supports MQTT, which devices can use to connect to Google Cloud.
Connect and manage MQTT-based devices using Cloud IoT Core (using simulated devices)
Ingest a stream of information from Cloud IoT Core using Cloud Pub/Sub.
Process the IoT data using Cloud Dataflow.
Analyze the IoT data using BigQuery.
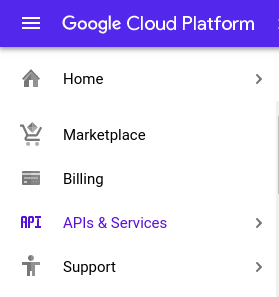
- In the Cloud Console, click Navigation menu > APIs & Services.
Scroll down in the list of enabled APIs, and confirm that these APIs are enabled:
- Cloud IoT API
- Cloud Pub/Sub API
- Dataflow API
If one or more API is not enabled, click the ENABLE APIS AND SERVICES button at the top. Search for the APIs by name and enable each API for your current project.
Create a Cloud Pub/Sub topic
Cloud Pub/Sub is an asynchronous global messaging service. By decoupling senders and receivers, it allows for secure and highly available communication between independently written applications. Cloud Pub/Sub delivers low-latency, durable messaging.
In Cloud Pub/Sub, publisher applications and subscriber applications connect with one another through the use of a shared string called a topic. A publisher application creates and sends messages to a topic. Subscriber applications create a subscription to a topic to receive messages from it.
In an IoT solution built with Cloud IoT Core, device telemetry data is forwarded to a Cloud Pub/Sub topic.
To define a new Cloud Pub/Sub topic:
- In the Cloud Console, go to Navigation menu > Pub/Sub > Topics.
- Click + CREATE TOPIC. The Create a topic dialog shows you a partial URL path.
iotlabClick CREATE TOPIC.
In the list of topics, you will see a new topic whose partial URL ends in
iotlab. Click the three-dot icon at the right edge of its row to open the context menu. Choose View permissions.In the Permissions dialogue, click ADD MEMBER and copy the below member as New members:
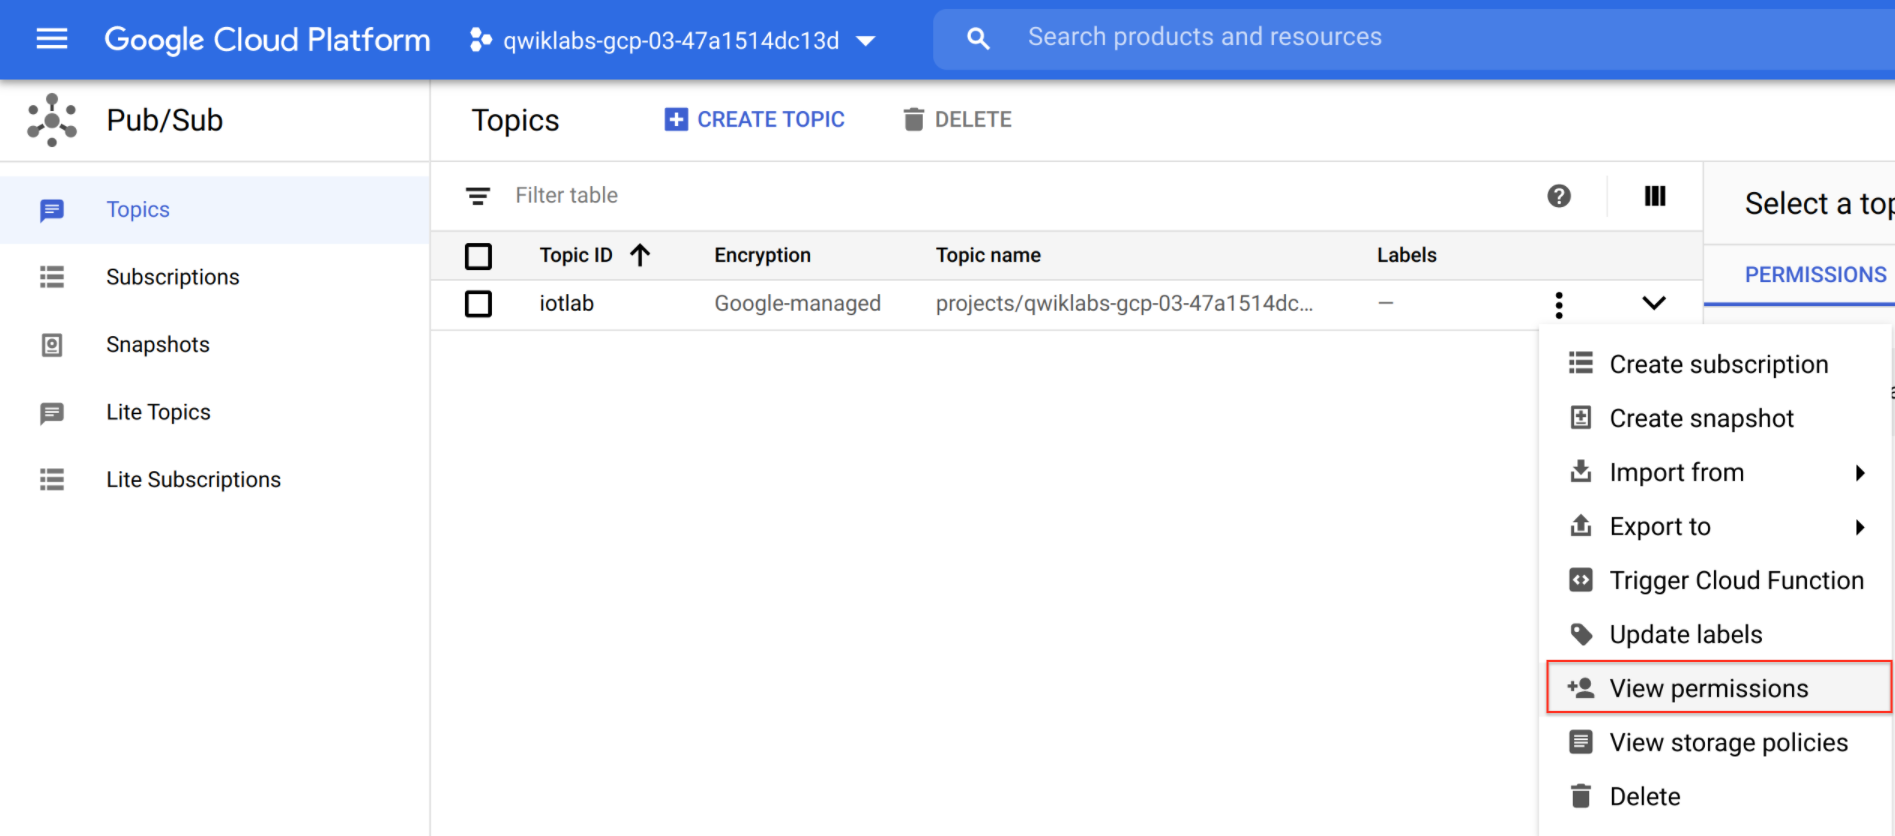
cloud-iot@system.gserviceaccount.com
From the
Select a rolemenu, give the new member the Pub/Sub > Pub/Sub Publisher role.Click Save.
Create a BigQuery dataset
BigQuery is a serverless data warehouse. Tables in BigQuery are organized into datasets. In this lab, messages published into Pub/Sub will be aggregated and stored in BigQuery.
To create a new BigQuery dataset:
In the Cloud Console, go to Navigation menu > BigQuery.
Click Done.
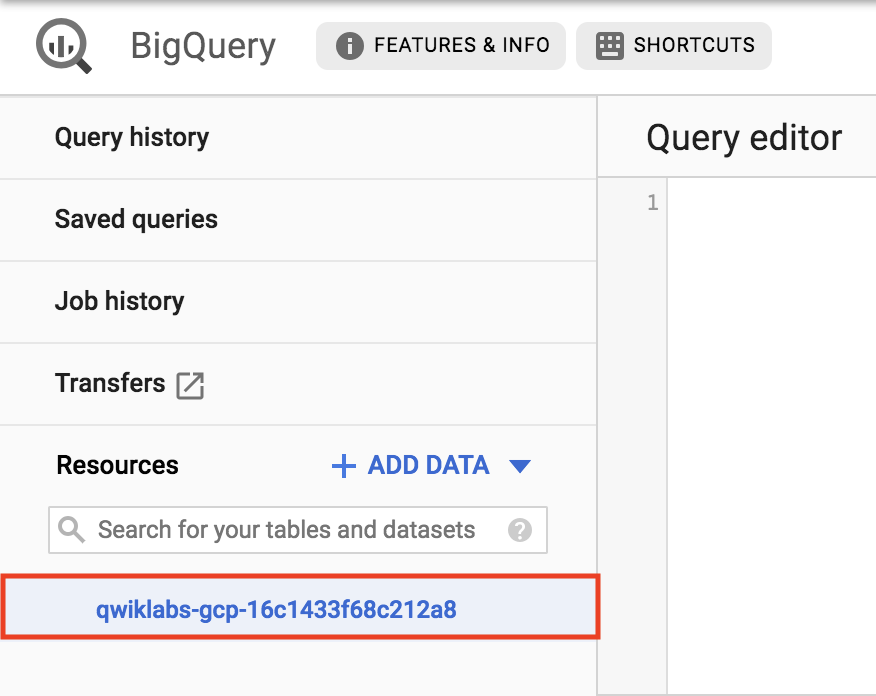
Click on your Project ID from the left-hand menu:
On the right-hand side of the console underneath the query editor click CREATE DATASET.
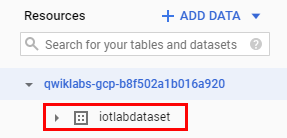
Name the dataset iotlabdataset, leave all the other fields the way they are, and click Create dataset.
You should see your newly created dataset under your project:
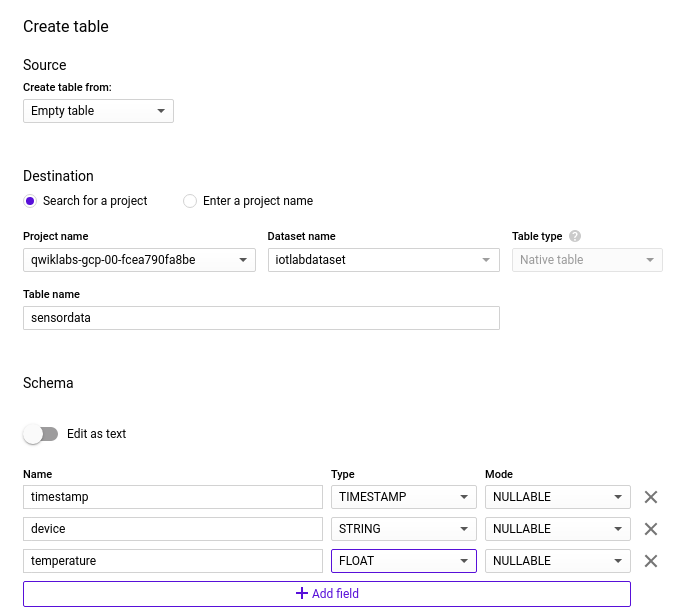
Click on your dataset, then on the right-hand side of the console click + CREATE TABLE.
Ensure that the source field is set to Empty table.
In the Destination section's Table name field, enter
sensordata.In the Schema section, click the + Add field button and add the following fields:
- timestamp, set the field's Type to TIMESTAMP.
- device, set the field's Type to STRING.
- temperature, set the field's Type to FLOAT.
Leave the other defaults unmodified. Click Create table.
Create a cloud storage bucket
Cloud Storage allows world-wide storage and retrieval of any amount of data at any time. You can use Cloud Storage for a range of scenarios including serving website content, storing data for archival and disaster recovery, or distributing large data objects to users via direct download.
Cloud Storage will provide working space for your Cloud Dataflow pipeline.
In the Cloud Console, go to Navigation menu > Storage.
Click CREATE BUCKET.
For Name, use your Project ID then add
-bucket.For Default storage class, click Multi-regional if it is not already selected.
For Location, choose the selection closest to you.
Click CREATE.
Set up a Cloud Dataflow Pipeline
Cloud Dataflow is a serverless way to carry out data analysis. In this lab, you will set up a streaming data pipeline to read sensor data from Pub/Sub, compute the maximum temperature within a time window, and write this out to BigQuery.
In the Cloud Console, go to Navigation menu > Dataflow.
In the top menu bar, click + CREATE JOB FROM TEMPLATE.
In the job-creation dialog, for Job name, enter
iotlabflow.For Regional Endpoint, choose the region as us-central1.
For Dataflow template, choose Pub/Sub Topic to BigQuery. When you choose this template, the form updates to review new fields below.
For Input Pub/Sub topic, enter
projects/followed by your Project ID then add/topics/iotlab. The resulting string will look like this:projects/qwiklabs-gcp-d2e509fed105b3ed/topics/iotlabThe BigQuery output table takes the form of Project ID:dataset.table (
:iotlabdataset.sensordata). The resulting string will look like this:qwiklabs-gcp-d2e509fed105b3ed:iotlabdataset.sensordataFor Temporary location, enter
gs://followed by your Cloud Storage bucket name (should be your Project ID if you followed the instructions) then/tmp/. The resulting string will look like this:gs://qwiklabs-gcp-d2e509fed105b3ed-bucket/tmp/Click SHOW OPTIONAL PARAMETERS.
For Max workers, enter 2.
For Machine type, enter n1-standard-1.
Click RUN JOB.
A new streaming job is started. You can now see a visual representation of the data pipeline.
Prepare your compute engine VM
In your project, a pre-provisioned VM instance named iot-device-simulator will let you run instances of a Python script that emulate an MQTT-connected IoT device. Before you emulate the devices, you will also use this VM instance to populate your Cloud IoT Core device registry.
To connect to the iot-device-simulator VM instance:
In the Cloud Console, go to Navigation menu > Compute Engine > VM Instances. You'll see your VM instance listed as
iot-device-simulator.Click the SSH drop-down arrow and select Open in browser window.
In your SSH session, enter following commands to create a virtual environment.
sudo pip install virtualenv
virtualenv -p python3 venv
source venv/bin/activateIn your SSH session on the iot-device-simulator VM instance, enter this command to remove the default Cloud SDK installation. (In subsequent steps, you will install the latest version, including the beta component.)
sudo apt-get remove google-cloud-sdk -yNow install the latest version of the Cloud SDK and accept all defaults:
curl https://sdk.cloud.google.com | bashEnd your ssh session on the iot-device-simulator VM instance:
exitStart another SSH session on the
iot-device-simulatorVM instance and execute the following command to activate the virtual environment.
source venv/bin/activateInitialize the gcloud SDK.
gcloud initCopy the verification code and paste it in response to the "Enter verification code:" prompt, then press Enter.
In response to "Pick cloud project to use", pick your lab project.
Enter this command to make sure that the components of the SDK are up to date:
gcloud components updateEnter this command to install the beta components:
gcloud components install betaIf you are asked "Do you want to continue (Y/n)?" enter "Y".
Enter this command to update the system's information about Debian Linux package repositories:
sudo apt-get updateEnter this command to make sure that various required software packages are installed:
sudo apt-get install python-pip openssl git -yUse pip to add needed Python components:
pip install pyjwt paho-mqtt cryptographyEnter this command to add data to analyze during this lab:
git clone http://github.com/GoogleCloudPlatform/training-data-analystCreate a registry for IoT devices
To register devices, you must create a registry for the devices. The registry is a point of control for devices.
To create the registry:
In your SSH session on the iot-device-simulator VM instance, run the following, adding your Project ID as the value for PROJECT_ID:
export PROJECT_ID=Your completed command will look like this: export PROJECT_ID=qwiklabs-gcp-d2e509fed105b3ed
You must choose a region for your IoT registry. At this time, these regions are supported:
us-central1europe-west1asia-east1
Choose the region that is closest to you. To set an environment variable containing your preferred region, enter this command followed by the region name:
export MY_REGION=Your completed command will look like this: export MY_REGION=us-central1.
Enter this command to create the device registry:
gcloud beta iot registries create iotlab-registry \
--project=$PROJECT_ID \
--region=$MY_REGION \
--event-notification-config=topic=projects/$PROJECT_ID/topics/iotlabCreate a Cryptographic Keypair
To allow IoT devices to connect securely to Cloud IoT Core, you must create a cryptographic keypair.
In your SSH session on the iot-device-simulator VM instance, enter these commands to create the keypair in the appropriate directory:
cd $HOME/training-data-analyst/quests/iotlab/
openssl req -x509 -newkey rsa:2048 -keyout rsa_private.pem \
-nodes -out rsa_cert.pem -subj "/CN=unused"This openssl command creates an RSA cryptographic keypair and writes it to a file called rsa_private.pem.
Add simulated devices to the registry
For a device to be able to connect to Cloud IoT Core, it must first be added to the registry.
In your SSH session on the iot-device-simulator VM instance, enter this command to create a device called
temp-sensor-buenos-aires:
gcloud beta iot devices create temp-sensor-buenos-aires \
--project=$PROJECT_ID \
--region=$MY_REGION \
--registry=iotlab-registry \
--public-key path=rsa_cert.pem,type=rs256Enter this command to create a device called
temp-sensor-istanbul:
gcloud beta iot devices create temp-sensor-istanbul \
--project=$PROJECT_ID \
--region=$MY_REGION \
--registry=iotlab-registry \
--public-key path=rsa_cert.pem,type=rs256Run simulated devices
In your SSH session on the iot-device-simulator VM instance, enter these commands to download the CA root certificates from pki.google.com to the appropriate directory:
cd $HOME/training-data-analyst/quests/iotlab/
wget https://pki.google.com/roots.pemEnter this command to run the first simulated device:
python cloudiot_mqtt_example_json.py \
--project_id=$PROJECT_ID \
--cloud_region=$MY_REGION \
--registry_id=iotlab-registry \
--device_id=temp-sensor-buenos-aires \
--private_key_file=rsa_private.pem \
--message_type=event \
--algorithm=RS256 > buenos-aires-log.txt 2>&1 &It will continue to run in the background.
Enter this command to run the second simulated device:
python cloudiot_mqtt_example_json.py \
--project_id=$PROJECT_ID \
--cloud_region=$MY_REGION \
--registry_id=iotlab-registry \
--device_id=temp-sensor-istanbul \
--private_key_file=rsa_private.pem \
--message_type=event \
--algorithm=RS256Telemetry data will flow from the simulated devices through Cloud IoT Core to your Cloud Pub/Sub topic. In turn, your Dataflow job will read messages from your Pub/Sub topic and write their contents to your BigQuery table.
Analyze the Sensor Data Using BigQuery
To analyze the data as it is streaming:
In the Cloud Console, open the Navigation menu and select BigQuery.
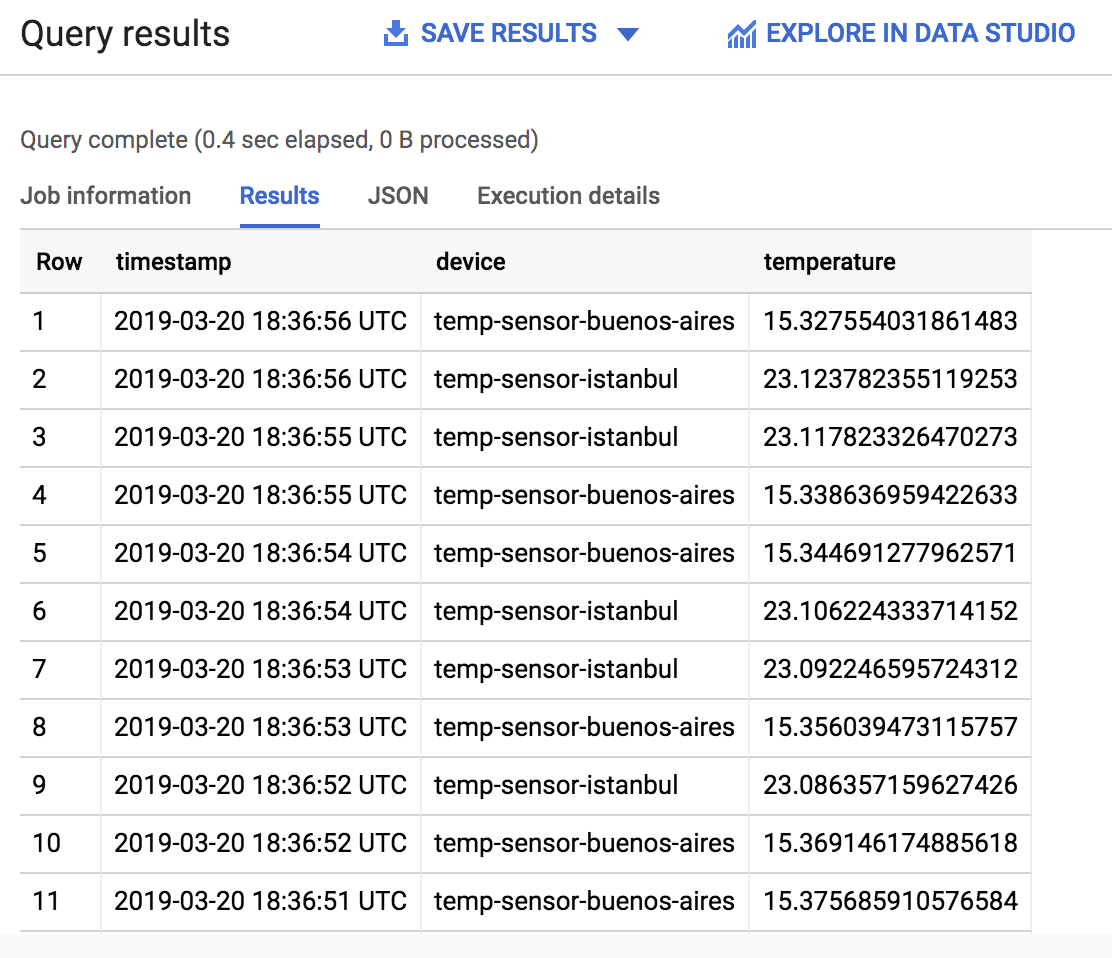
Enter the following query in the Query editor and click RUN:
SELECT timestamp, device, temperature from iotlabdataset.sensordata
ORDER BY timestamp DESC
LIMIT 100
- You should receive a similar output:
No comments:
Post a Comment